
About this project
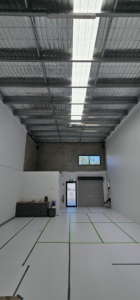
I’d been keeping an eye on these Industrial Warehouses for a while as we’d often drive past on the way to school drop off.
My idea was to do an office conversion!
Below are the stages of the build, if you have any questions about this project email [email protected]
We are super stoked with the result! Its great to be working from here!
See a copy of the original concept plans Capital Headquarters.
Stage 1.
Concrete polish & installation of ‘Corflute’ (The white stuff on the deck) to protect the concrete polish.
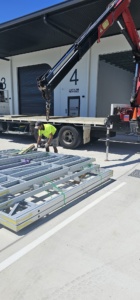
Stage 2.
Delivery of the flooring supports & Frames.
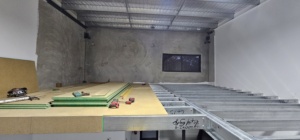
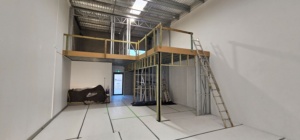
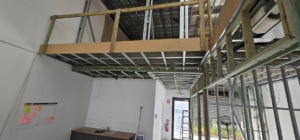
Stage 3.
Mezzanine floor construction.
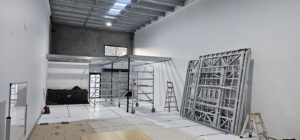
Stage 4.
Frame construction.

Stage 5.
Air Conditioning install.
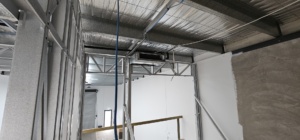
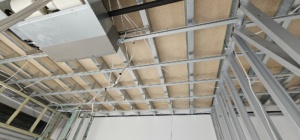
Stage 6.
Air Conditioning frame & Ground Floor ceiling frame & ceiling battens.
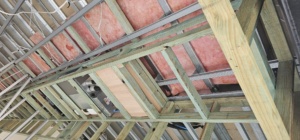
Stage 7.
Insulation Install.

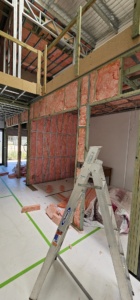
Stage 8.
Plaster Board install.
Stage 9.
Plastering stage.


Stage 9.
Painting & Electrical fit off.


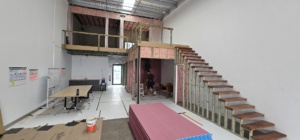
Stage 10.
Stair case & glass doors, windows, & mezzanine flooring install.
I opted to run with a different look for the stairs, rather than going with the typical steel stringer & timber treads, a frame was constructed which was rapped with a James Hardy product cement cladding with an expressed joint look.


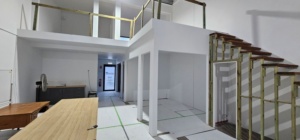
Stage 11. (Final Stage)
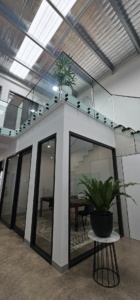
Glass balustrade.
As soon as the glass balustrade was installed, it really set the look & feel of the space. It looked amazing.

Finished photos

Interested in a project like this? Contact Us